Need to learn how to tie a tie or simply add some additional knots to your repertoire? Our step-by-step tutorial in this article will help you put together the perfect wedding outfit.
No matter your gender, learning how to tie a tie in different knots is one of the most important skills you should have. Tying ties is just as important as learning how to knot your shoelaces. You may have graduated with a clip-on tie, but in the real world, you must be able to tie one.
Don’t worry; even if tying a necktie is difficult, I’ve made it simple for you. Today, I’ll show you how to tie a tie in different ways. From basic full Windsor knots to sophisticated bow ties, I’ve covered all the key tie knots for you to cover every event. Check out The 14 Best Irish Whiskey Worth Drinking Right Now!
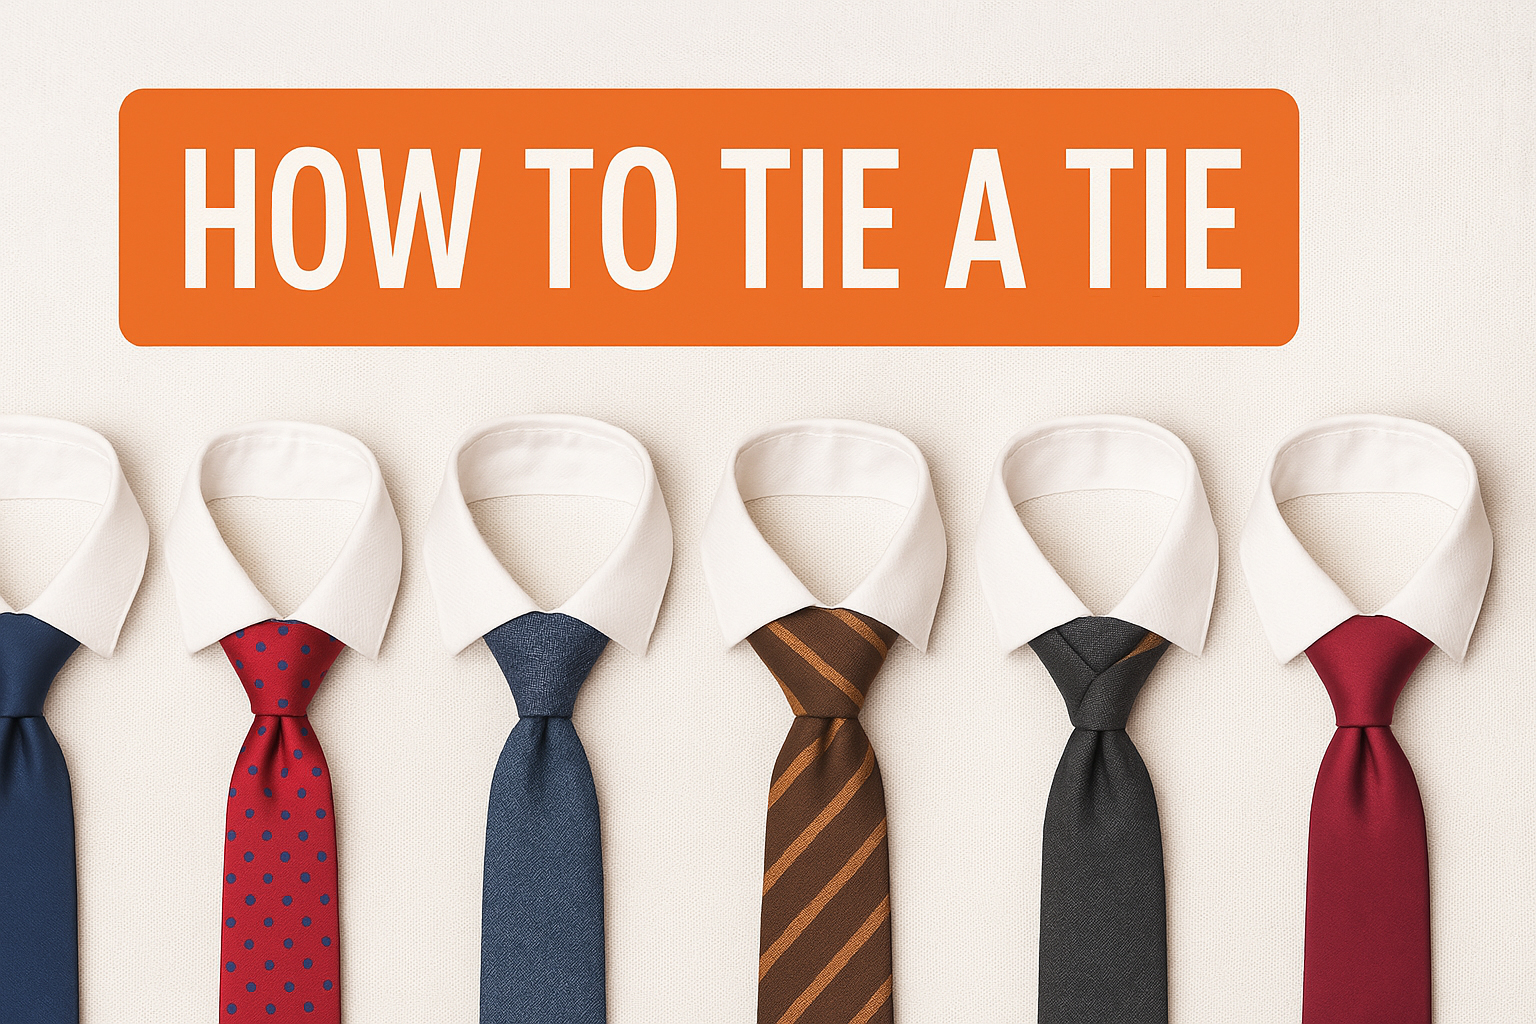
How to Tie a Tie in 8 Different Styles
1. How to Tie a Tie Four In Hand Knot

- Loop the tie around your collar. The thick end on the left is 3-4 inches lower than the thin end.
- Cross the thick end in front of the thin one.
- Wrap the thick end around behind the thin end, then cross horizontally from right to left.
- Bring the thick end horizontally over the front of the knot, from right to left. Slide a finger beneath this horizontal band.
- Turn the thick end’s tip upward and in, then slide it beneath the loop around your neck.
- Feed the thick end down through the loop you’ve kept open with your finger.
- Pull the thick end through the loop and secure the knot tightly.
- Tighten the knot by holding it lightly in one hand and pulling on the narrow end with the other.
The four-in-hand knot is a popular necktie knot for novices learning to tie a tie. Not only is it simple to master, but it is also one of the oldest: British riders are supposed to have devised it to tie scarves while holding the reins of four horses in the other hand.
This knot uses less of the tie’s length, making it ideal for tall men attempting to tie a standard-length tie. The slimmer design complements thin-spread collars and button-down collar dress shirts.
Ready to make money in Nigeria without investment? see this guide
2. Half Windsor Knot Style
- Drape the necktie around your collar, wide end on the right hanging down to your thigh and narrow end on the left at the rib cage.
- Cross the wide end in front of the thin end from right to left, forming an X beneath your chin.
- Wrap the wide end of the tie horizontally around and behind the thin end.
- Pull the wide end from the top through the opening of the X and tighten.
- Hold the wide end with your right hand and wrap it in front of the thin end, right to left.
- Keep the triangle intact with your left hand, bring the broad end towards your chest, then slide it across the X from behind the loop.
- Use your left index finger to open up the triangle that has formed above the X and pull the broad end all the way through.
- To change the length, draw the knot up near your collar while dragging the narrow end of the tie down. You may need to make adjustments to the horizontal loop to ensure it is smooth and even.
- Along with the Four-In-Hand knot, the Half Windsor is best suited to guys who are just learning how to tie a tie.
This knot is ideal for medium-width and thick ties. It is the most adaptable and widely used tie knot. Because the half Windsor knot takes less of the tie’s length than the bigger Windsor knot, it is an excellent alternative for big and tall men who want to wear a standard-length tie.
3. How to tie a tie Double Windsor (Full Windsor Knot)
- Drape the necktie around your collar, leaving the wide end on the right about 4-6 inches lower than your waistband.
- Cross the wide end horizontally in front of the slim end, forming an X right under your chin.
- Tuck the broad end up and beneath the loop around your neck, exiting point-up behind the X. Use one finger to hold the X in place.
- Pull the wide end down.
- Bring the wide end around behind the knot and pass horizontally from right to left.
- Flip the wide end tip upward and tug it diagonally across the front of the knot.
- Loop the broad end over the top of the loop around your collar, then bring it back down. It should emerge to the left of the narrow end.
- Bring the wide end horizontally over the front of the tie knot, left to right. This creates a horizontal band. Tuck your finger through it and hold it in place.
- Bring the broad end underneath the loop again, this time around the collar with the tip pointing upward.
- Turn the wide end downward and slide the tip through the horizontal loop you made with your finger in Step 8.
- Pull the broad end down to smooth out any creases or slack in the knot.
When I am asked how to knot a tie, the Full Windsor Knot is always mentioned. The Full Windsor, also known as the Double Windsor, is a huge, triangular, symmetric shape that works well with wide-spread collars and men with large necks.
Because of the two wrappings, the Windsor knot requires an additional tie length. Tall individuals with larger neck sizes will need a tie measuring between 61 and 64 inches.
See our guide on Top 10 Ways to Make Money Online in Nigeria as a Student
4. Nicky Knot Style

- Drape the necktie around your collar with the seam facing outward and the thick end on your left, about two inches lower than you want the completed position.
- Cross the thick end underneath the thin end, forming an X below your chin.
- Flip the thick end up in front of the loop around your collar and tuck it down through the loop, emerging to the left of the thin end.
- Draw the tip of the thick end horizontally across the front of the knot. Slip a finger underneath the horizontal band you’ve just formed across the front of the knot.
- Bring the tip of the thick end up and beneath the loop around your collar.
- Tuck the tip of the thick end down through the horizontal loop you formed in Step 4.
- Pull the thick end through the horizontal loop, then snug it down.
- Hold the knot with one hand and tug on the narrow end of the tie with the other to make any necessary adjustments.
5. Bow Tie Knot

- Begin by draping the bow tie over your neck, seams facing down, and the right side longer than the left.
- Place the right end over the left, forming an X directly below the chin.
- Loop the longer end behind the ‘X’ to form a basic knot similar to the first knot when tying shoelaces. Pull tightly, leaving the longer end lying on your shoulder.
- Fold the shorter end into a bow shape with your index finger on the broadest section of the curve. Place the folded tip across your collar, keeping the shorter end as close to your neck as possible.
- Holding the bow above with your left forefinger and thumb, draw the longer end straight down over the shorter end in the center of the bow.
- Fold the longer end back towards the chest with your right hand, pinching it and doubling the tip over to form a wing.
- Tuck the folded tip of the longer end beneath the folded tip of the shorter end, then through the small loop you created when you first passed it up behind the knot.
- Tugging the loops behind the wings will tighten the vertical front knot.
- Hold the front of the knot down with one finger and wiggle the wings until they are symmetrical.
Make the last modifications. Ensure that your bow tie is flat and horizontal against your collarbone. You’re finished! You now know how to knot both a tie and a bow tie.
See Top List of 7 Best Cat wash Soap to Wash Your Buddy
6. Kelvin Knot
- Drape the necktie around your collar, the seam facing outward and the thick end on the left, hanging two to three inches below the ideal finishing position.
- Cross the thick end under the thin end from left to right, forming an X beneath your chin.
- Bring the thick end back over the front of the knot, right to left. Continue wrapping it around the thin end, passing it from left to right behind the knot.
- Next, bring the thick end horizontally over the front of the knot from right to left. Slip a finger below the horizontal band that forms.
- Tuck the thick end into the loop around your collar.
- Bring the tip of the thick end down through the horizontal loop you made in Step 4 (not the smaller one in Step 3).
- Pull the thick end through the horizontal loop, securing the knot in place.
- Tighten the tie by holding the knot in one hand and gently pushing on the thin end with the other.
7. Pratt Knot
- Drape the tie around your collar with the seam facing outward and the thick end hanging on your left, 1-2 inches below the preferred finishing point.
- Cross the thick end underneath the thin end, creating an X-shape beneath your chin.
- Pass the thick end through the loop.
- Pull the thick end down and flip the tip so it points to the left.
- Bring the thick end horizontally over the front of the knot (right to left). Tuck a finger behind the horizontal band you just formed.
- Slip the thick end up through the loop from underneath.
- Point the tip of the thick end downward, directly on top of the narrow end.
- Pull the thick end downward through the horizontal band. Secure it firmly in place.
- To adjust the necktie, grab the knot with one hand and gently tug on the thin end with the other.
8. St Andrew Knot Style
- Drape the necktie around your collar, seam facing out, and thick end on the left, two to three inches below the desired ending position.
- Cross the thick end horizontally beneath the thin end, forming an X shape under your chin.
- Move the thick end horizontally over the front of the thin end.
- Continue to loop the thick end around the thin end, passing it horizontally behind the thin end from left to right.
- Flip the thick end vertically up and over the front of the knot before tucking it back behind it.
- Bring out the thick end and move it to the left.
- Bring the thick end over the front of the knot, from left to right. This will create a horizontal band. Put a finger through it.
- Finally, put the thick end behind the knot and tuck it through the horizontal loop created in Step 7.
- Pull the thick end all the way through, then tighten the knot with one hand while pushing gently on the thick end with the other.
Conclusion
Knowing and mastering knoting a tie is essential since it will not only improve your overall appearance but also give you a boost of confidence. From classic full and half Windsor knots to innovative trinity knots, there are countless alternatives for different situations and events.
I hope this step-by-step guide teaches you the common essentials as well as professional knot-tying techniques to boost your outfit’s look. So, choose your favorite tie and begin making knots!